


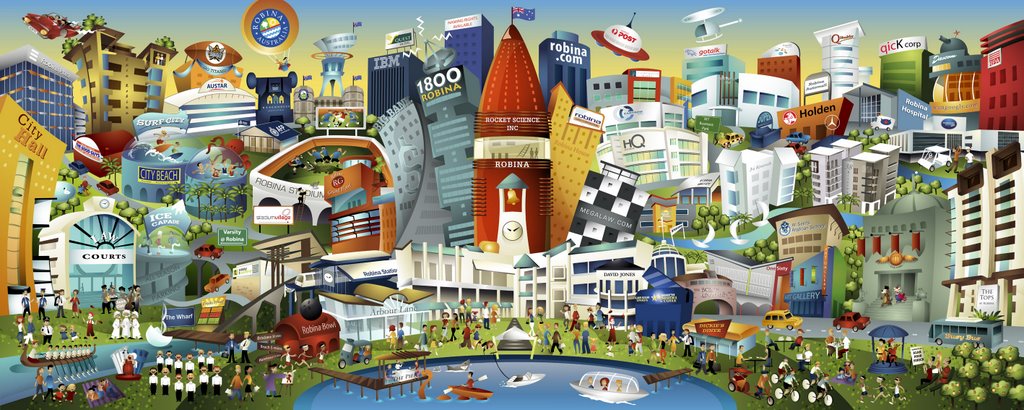
Altogether, there were over 30 real and imaginary buildings, and over 60 additional elements (more actually, since a groupd of people was considered 1 element). The smaller image, at full size, was supposed to be 5mx2m. The billboard was 10mx4m.
I had done artwork for large format reproductions before, but they were not as big or complicated. From start to finish, the project took me about a month to complete. It was fun, very tiring, and I thought I'd share how I put the proejct together, in case anyone was interested.
So here goes:
Step 1: Concept
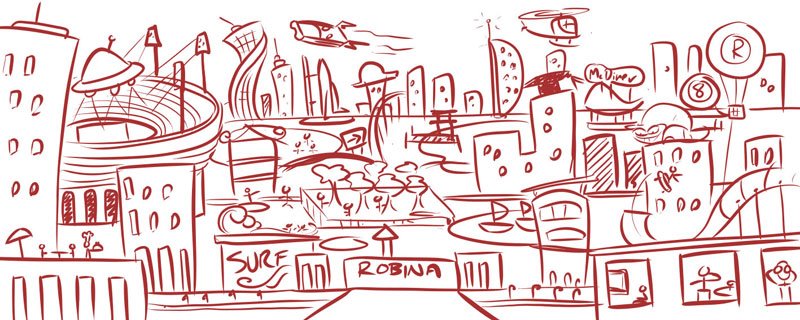
After receiving the brief, I mulled over the concept and played with some very rough layouts in my head. It was quite boggling to try and envision everything, so I simplified things to the bare minimum. My first take was that there was no way I could fit everything onto one plane, and I didn't want to deal with too many perspective issues later. So I suggested tiering the illustration, relying on varying depths to get everything into place.
Step 2: Initial sketch
Conceptualizing the layout was easy; getting it into a workable sketch was another matter. I toyed with the idea of drawing the whole thing straight into the computer in Painter, but the file was too large even at 72dpi to work quickly. So it quickly went back to good ol' paper.
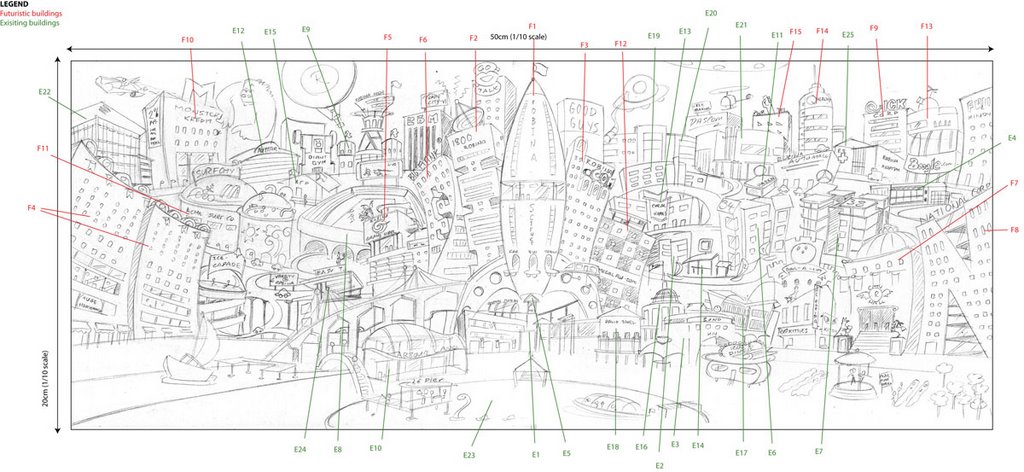
I decided to do the sketch at 1/10 of the main image size (50x20cm). In retrospect, I could've done with a bigger ratio, but I didn't trust my math enough to go with a wierd number.
I drew in all the buildings first. For the exisiting ones, I referenced photos of the buildings. For the imaginary ones, I cooked them up with what basic architectural knowledge I had on hand, pus various other funky building references. When I sent the first sketch over to the client, I labelled the buildings to let them know which ones were which.
Step 3: Sketch refinement

The client liked the sketch in general, but there were some changes. We went through a couple of rounds of changes, which went by slower than I expected because I had to redraw things relatively carefully because of the scale. The changed items were draw on a seperate sheet of paper or tracing paper, and I recomposited the image in Photoshop.
Step 4: Elements
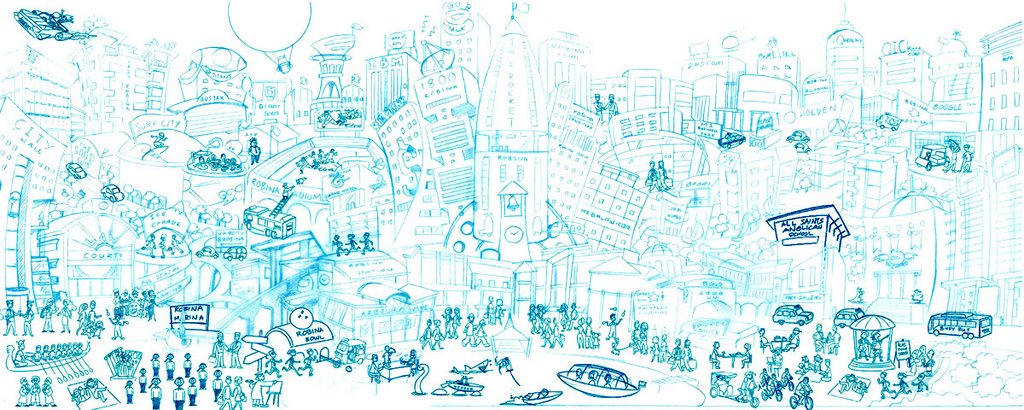
Once the buildings were approved, I got to work on the elements. There were a lot of them, and again it was hard to fit them in. What's more I realised that there was no way I could draw the elements on top of the scaled building sketch - they'd be the size of rice grains.
I contemplated blowing up the building sketch, but I found that in order to comfortably draw the elements, I would have to enlarge the building sketch a lot, making it very cumbersome to work with.
In the end I just decided to draw all the elements on seperate sheets of paper. I scanned these in individually and resized and placed them on top of the buildings.
It wasn't the most accurate solution, but fortunately it worked out in the end.
Step 5: Vectoring


I knew from the start that with the way I work, Illustrator would not be able to handle all the elements in one working file. I make use of a lot of gradients, lighting effects and clipping masks, and when you have literally hundreds of these in one file, the system just can't keep up.
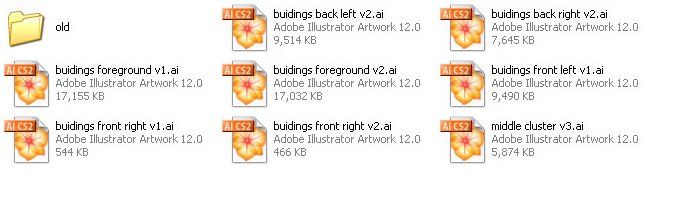
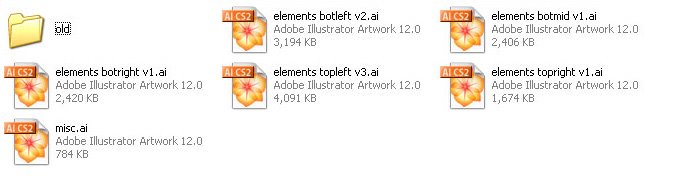
So I divided the artwork into different parts. There were 8 different files just for the buildings, and another 6 files for the elements. In addition, I also created about 30 files for traced logos that I needed to use on the buildings.
Step 6: Making a MAMMOTH file

This worried me till the very end. I wasn't sure if the computer was up to the task of rendering such a large file. After several tests, I decided to create one master Illustrator file which had all the artwork in it, on different layers. I exported these layers one by one as hi-res EPS files.
I created a new Illustrator document and re-composited the image again, this time by importing the hi-res EPS files. This file I saved as an EPS as well, including the linked EPS files. The size of the final EPS file is something like 300mb.
However, I've always been kinda distrustful of linked EPS files, so I decided to create a hi-res TIFF of the file. In Photoshop I created a 1:2 scale file at 300dpi and placed all the hi-res EPS files. And waited and prayed that the computer would not hang.
Thankfully the investment in a new comp paid off and the file did eventually render out. The hi-res CMYK TIFF version of the file weighs in at a hefy 1G.
All in all, I supplied a CMYK EPS, a CMYK TIFF and an RGB TIFF file for both the wall mural and the billboard.
And there you have it, in a nutshell. The day I drew the town.
(Thanks to the kind folks at Robina Land Corporation for letting me talk about their project. )


5 comments:
that is so cool,
i want to live there, it looks fun,
i hope the company were happy and paid you well
Very cool! Thanks for the step by step post, I always love to see how others work!!
wow. that is an amazing illustration.
this looks really uber gorgeous! i see tons of sweat, pain and satisfaction at the end of it!
i still come back and look at this in pure wonder. and pretty much a lot of fear.
Post a Comment